Drupal Live Chat Plugin Features
Configure the extension and 'Enable' the Drupal chat plugin with a click.
Displays live chat on selected or all of the pages of the website without any effort.
Start receiving chats and calls for free immediately after enabling the plugin.
No software installation. No programming or copy&pasting of code!
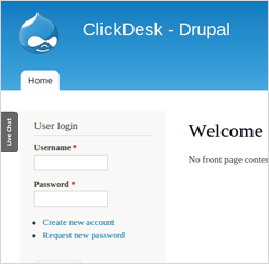
TRUSTED BY MORE THAN 100,000 BUSINESSES
Guaranteed 99.95% UptimeCickDesk - Drupal6 widget setup guide
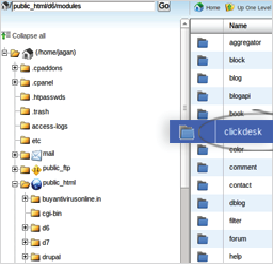
Step 1: Upload and Extract
Download the Drupal 6 ClickDesk live chat Module
Upload it to root -> modules directory in your host
Extract the zip module
Step 2: Enable Module & Configure
Login to your Drupal as administrator
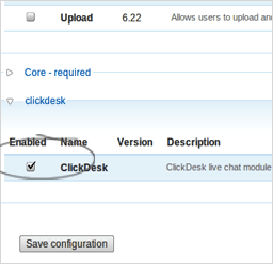
Go to Administer -> Site building -> Modules. Enable the ClicKDesk module and Save
Now click on Clickdesk link in the left sidebar of your Administer section
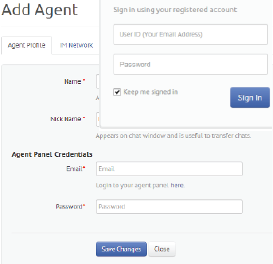
Step 3: Signup and Add Operator
Signup for any ClickDesk plan that suits your needs
Login to your Dashboard and add an operator
Confirm your operator IM (Google Talk) by accepting the contact requests on your IM
Step 4: Create a Department
After adding the operator, click on 'Get your code' in the navigation bar
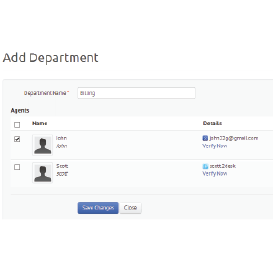
Create a new department and assign operator(s)
Add the department
Step 5: Install Plugin
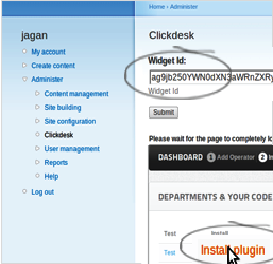
Click on Install plugin link in the Departments & Your code section
Drupal live chat plugin gets installed successfully
The widget-ID field gets automatically filled now
Step 6: Activate Footer Block
Go to Site building -> Blocks
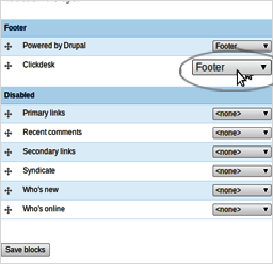
From the drop-down choose 'footer' for Clickdesk. Click on 'Save blocks'
ClickDesk live chat now appears on all pages in your Drupal site. You can 'configure' the block to control on which pages ClickDesk should appear
CickDesk - Drupal7 widget setup guide
Step 1: Upload and Install
Download the drupal 7 ClickDesk chat Module
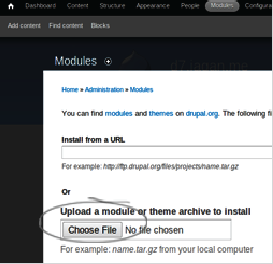
Login to your Drupal7 administrator end and go to Modules
Upload the Drupal chat module and install
Step 2: Enable Module & Configure
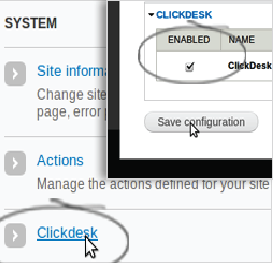
Go to modules to find the recent installed Clickdesk module
Enable the module and save it
Click on clickdesk in the Blocks section of configuration page to setup the live help module
Step 3: Signup and Add Operator
Signup for any ClickDesk plan that suits your needs
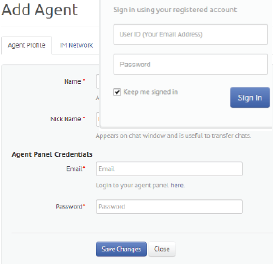
Login to your Dashboard and add an operator
Confirm your operator IM (Google Talk) by accepting the contact requests on your IM
Step 4: Create a Department
After adding the operator, click on 'Get your code' in the navigation bar
Create a new department and assign operator(s)
Add the department


Step 5: Install Plugin
Click on Install plugin link in the Departments & Your code section
Plugin gets installed successfully
The widget-ID field gets automatically filled now
Step 6: Activate Footer Block
Go to Site building -> Blocks
From the drop-down choose 'footer' for Clickdesk. Click on 'Save blocks'
ClickDesk live chat now appears on all pages in your Drupal site. You can 'configure' the block to control on which pages ClickDesk should appear

